Bakery Workflow Checklist: Scaling, Shaping and Proofing for Small Batches
Small batches leave little room for guesswork. A mixer that holds three kilos of dough, two proofing baskets, and one oven shelf is a tight system, and every small error has a shorter runway before it reaches the loaf. A batch sheet and a simple production order do more for consistency than a new flour or a longer ferment. The checklist below is the one to return to when the day is busy and the batch is small: weigh carefully, shape in order, reserve proofing space, and give the oven a clear schedule.
The goal is not to turn a small bakery into a factory. It is to remove repeated decisions from the middle of production. When the formula, the order, and the proofing plan are already written down, you can spend your attention on the dough in front of you. That matters most on the days when a delivery arrives late, a customer asks for a change, or the first bake comes out darker than expected.
Start with a batch sheet, not a mood
Before flour hits the bowl, write the batch down. A batch sheet turns a series of decisions into a sequence you can follow when the phone rings or the first tray comes out darker than expected. It does not need to be elaborate. For small production, a single page with ingredient, target weight, actual weight, and time is enough. Add a line for dough temperature and a short note on any change you made. The sheet should be usable with wet hands and a marker, so keep it short and clip it to the bench where you mix.
Set out the bowls, scales, scrapers, baskets, and covers before mixing. This is not ceremony; it prevents the small delays that push a batch out of order. If the dough is ready and the proofing baskets are still in the back room, the shaping queue starts late. A two-minute setup saves ten minutes of rushed handling later.
Work backward from the bake time. If twelve loaves need to be out of the oven by 8:00, and the final proof takes about an hour, and shaping takes half an hour, the mixing window is no longer abstract. Write those times on the sheet. When the dough runs slower than expected, you can see which stage needs adjusting instead of guessing at the whole schedule.
What belongs on a small-batch sheet
- The formula: ingredient, target weight, and actual weight. Leave a blank line for deliberate changes.
- The clock: mix time, divide time, shape time, proof start, and target bake time.
- The temperature: flour temperature if you track it, water temperature, and finished dough temperature.
- The equipment plan: how many baskets, trays, or couches the batch needs, and where they will sit.
- The notes: a short line for anything that changed, including an accidental extra splash of water.
If the number is not written down, it is a guess. A batch sheet is how a small bakery remembers what it did right.
Scaling: weigh twice, adjust once
Scaling accuracy is the quiet foundation of a consistent small batch. When you mix 20 kilos, a few grams of salt can disappear into the noise. When you mix three kilos, the same few grams are easier to taste and harder to correct. Weigh the small ingredients first, especially salt and yeast, then the flour and water. Tare every bowl, and do not trust a scoop to be precise. A 2% salt formula on three kilos of flour calls for 60 grams; a 5-gram miss is roughly an 8% change in salt, enough to move flavour and dough strength.
Use a scale that reads to one gram for the main ingredients and a smaller scale for salt, yeast, and enrichments if you have one. Check that the scale sits level and returns to zero. Rounding water or flour “just this once” makes the batch sheet useless. If you deliberately change the formula, write the new number down and mark it as the actual. A scale that drifts by ten grams is not a scaling problem you can taste your way out of later.
The three weights that matter
- Flour and water: weigh both, and record the actual water temperature if you are managing dough temperature.
- Salt and yeast: weigh them separately; a small error here has a large effect on fermentation and flavour.
- Finished dough: check total dough weight after mixing and piece weight after dividing; if the numbers drift, find out why before shaping.
If a formula calls for twelve pieces at 250 grams, the dough should yield about three kilos before losses. A few grams of trim is normal. A hundred grams missing is a scaling or mixing problem, and it will show up later as smaller loaves or a thinner bake. Weigh the first few divided pieces as well as the total dough mass. If the first pieces are heavy, the last ones will be light, and the proofing times will not line up.
A quick scaling check
- Calculate the expected total dough weight from the formula before you mix.
- Compare the scale reading after mixing with that expected total.
- Divide the batch and weigh the first three pieces, not only the first one.
- Check the trim at the end. A small trim is normal; a large trim means the piece weight or the total was off.
Do not fix a scaling mistake by adding flour or water at the end unless you write down what you added. A correction that is not recorded cannot be repeated, and the next batch starts from a formula that no longer matches the bread.
Shaping order: follow the fermentation clock
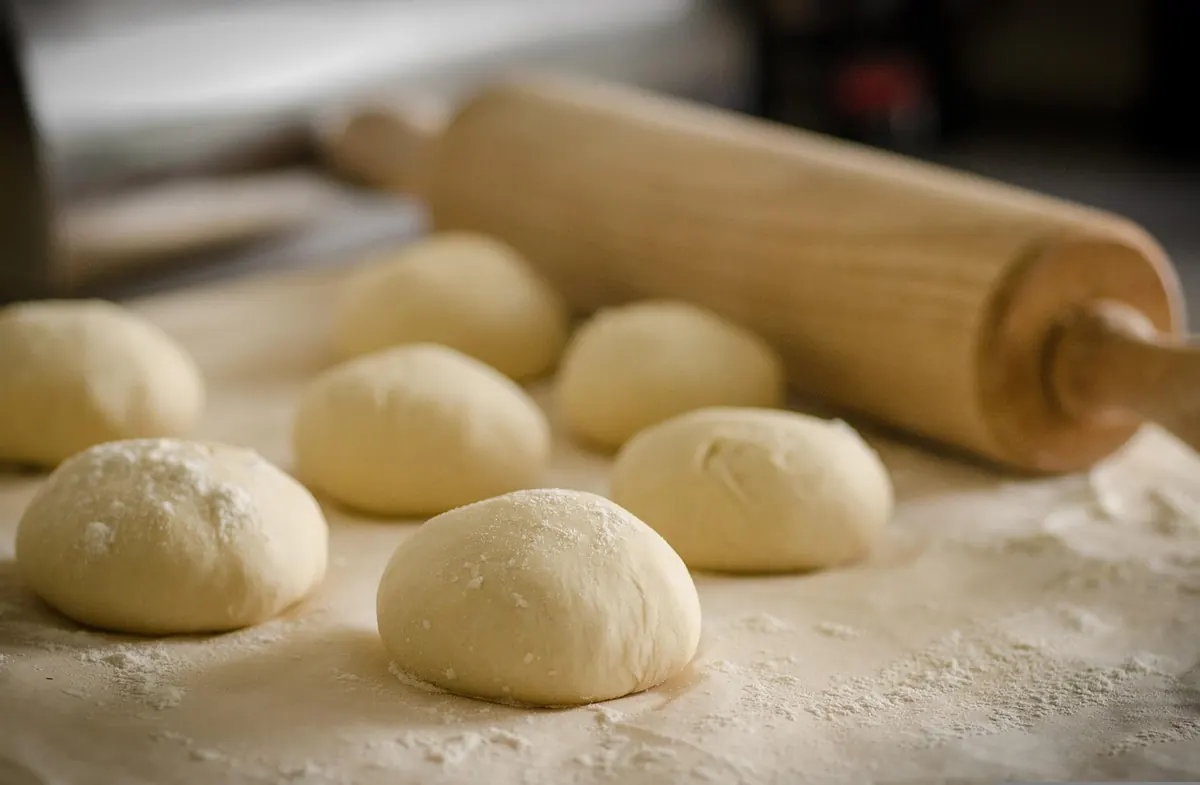
Shaping is not a separate task; it is a continuation of fermentation. In a small bakery, the risk is not that dough sits for an hour while you answer emails. The risk is that the first piece and the last piece are twenty minutes apart, so the first loaf goes into the oven proofed and the last one goes in tight. A ten-minute gap between first and last piece is manageable; a twenty-five-minute gap is a different dough by the time it reaches the oven.
Start with a plan for the whole batch. Divide the dough, preshape in a consistent order, give the pieces a bench rest, then shape in the same order. Keep the queue covered with a cloth or inverted tub so the surface does not dry. If you are working with two doughs, shape the one closest to its limit first. A slack, high-hydration dough often needs a shorter bench rest, so do not park it at the back of the line.
- Divide the entire batch before you preshape the first piece, unless the dough is so large that it will over-ferment while waiting.
- Preshape from left to right, or front to back, and keep that order for the rest of the batch.
- Set a bench-rest timer; start it when the first piece is preshaped, not when the last one is finished.
- Shape in the same order, then load baskets or trays immediately and label them.
Work at a pace you can repeat. A slow, even rhythm is better than a fast start and a panicked finish. If the queue backs up, put the remaining pieces in the fridge rather than letting them proof on the bench while you catch up. The fridge is not a failure; it is a tool for protecting the order you already started.
Proofing space: reserve it before the dough exists
Proofing space is production capacity. Count the baskets, couches, trays, and fridge shelves before mixing, not after the dough is divided. A batch that fits the mixer can still fail at the proofing stage if there is nowhere to put it. Reserve the space the same way you would reserve an oven shelf.
Label every container with dough type, start time, and target bake time. Use tape and a marker so the label can be changed without rewriting the whole plan. If a basket is reserved for another batch, mark it; an unlabeled basket is a future collision. When two doughs are proofing at once, a simple label prevents the wrong basket from going into the oven first.
Do the proofing-space math before scaling. If the dough yields twelve pieces at 250 grams and you have eight baskets, the batch is not a twelve-piece basket batch. Either four pieces go onto a tray, or the batch is scaled to fit the baskets. Discovering that after dividing is how good dough gets flattened into a crowded pan.
Write the target bake time on the label and on the oven schedule. If the oven holds one shelf at a time, stagger the proof so the first basket is ready when the oven frees up, not forty minutes before. Proofing is easier to manage when the oven clock and the proofing clock are visible in the same place.
A five-minute reset between stages
Between mixing and dividing, reset the bench. Clear the bowls, wipe the scale, set out the next timers, and refill the dusting flour. This is not cleaning for its own sake; it removes the friction that causes skipped steps. A five-minute reset also gives you a chance to check the dough temperature and note it while the number is still accurate.
Use the reset to look at the batch sheet and ask one question: what is the next physical action? If the answer is not obvious, the sheet needs a clearer line. Small batches reward this kind of short pause because there is less dough to absorb a mistake and less time to recover before the bake.
Close the batch with a two-line review
At the end of the batch, write two lines: what the dough actually did, and what you would change next time. For example: “Dough came in at 24.5°C; proof was 55 minutes at room temperature; bake was 22 minutes and too dark on the bottom. Move the shelf up next time.” That note is worth more than a vague memory of a busy morning.
Keep the review short. If it takes more than two minutes, it will not happen. The point is not a diary; it is a correction for the next batch sheet. Over a few weeks, those two-line notes become the most useful record in the bakery because they describe the bread you actually made, not the bread you planned to make.
Photo: ClickerHappy / Pixabay